Most clients using VMware patch and update their vSphere Hosts using VMware Update Manager or VUM. This provides an easy GUI to find needed updates and apply them to your ESXi Hosts. Once in awhile, VUM has issues patching hosts. And to use VUM, you need a valid licensed vCenter. So those of you using the Free ESXi or need to patch hosts not registered to your vCenter, the easiest way to patch your hosts is through the SSH Command Line (CLI). I will run this process down, step by step.
– Login to your free MyVmware.com account and download the latest patches
http://www.vmware.com/patchmgr/download.portal
– In the portal, select the ESXi (embedded and installable), and select your version of ESXi you need to patch. Then download the latest update. The patches are cumulative, so the latest update will include all previous patches as well.

– Shutdown your VMs using the Windows vSphere Client and put the host into maintenance mode.
– Enable SSH on the host by selecting the host in the vSphere Client, clicking on Configuration, Security Profile, and click Properties in the top right hand corner. Open SSH and click the Start button.
– Using the vSphere Client, browse to a local Datastore and upload the downloaded patch to the root of the Datastore, (or a folder of your choosing).
– Using Putty or some other SSH tool, type in the IP address of your host, and login with the “root” user.
– Now on to patching the host. Type the following command, replacing this example path with the patch of where you uploaded the patch (in zip format).
esxcli software vib update -d /vmfs/volumes/<your_datastore>/<name_of_the_patch_you_uploaded.zip

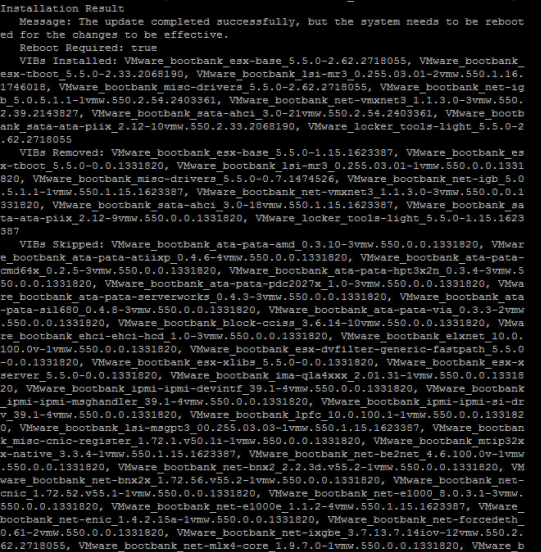
– Wait a few minutes, after which you should see a bunch of text showing the status of the update.

– Finally, type “reboot” and you should be all updated after the reboot!


 That Name is the Profile you will need to add to your update command.


